
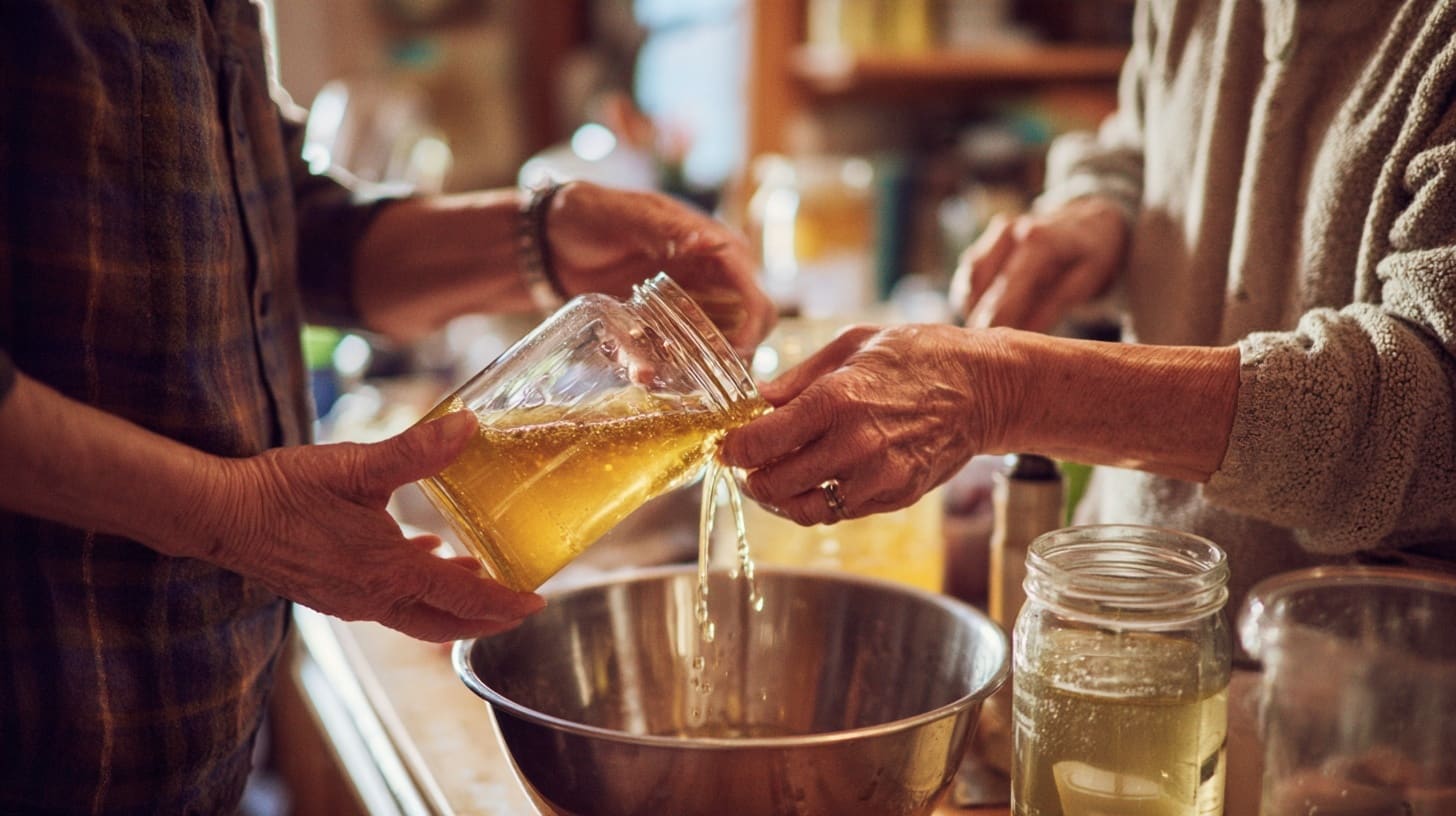
This is the classic beginner-to-intermediate route: honey-forward, fruitless, and long enough to learn fermentation discipline. We intentionally keep the formula stable and style traditional so you can focus on process quality, not endless ingredient variables.
Is this cider? No — this is mead
Mead is fermented honey. If your base is mostly honey + water plus yeast and support products, it is mead. Apple additions define a different branch; fruit additions define variations.
What this recipe teaches
- How much honey to target an expected finish window
- Why temperature management beats shortcut speed hacks
- Why fruitless mead usually needs patience more than additives
- How to use stable gravity as the finish decision signal
- How to transfer notes from your batch to an app cleanly
The complete recipe at a glance
For a finished volume of 1 US gallon (3.8 L), use 3.1 lb (1.4 kg) honey and enough chlorine-free water to reach the final volume. A typical must lands near 1.100 SG, although honey composition, temperature, and the exact final volume can move that number. Measure the must you actually made; do not force it to match a theoretical number by blindly adding sugar.
Ferment at 65–68°F (18–20°C) with a mead-friendly wine yeast. Divide the calculated nutrient amount into four additions at 24, 48, and 72 hours and at the one-third sugar break. The nutrient total is not universal: calculate it for the yeast, nutrient product, starting gravity, and volume you actually use. The demonstration journal shown below records four 0.5 g Fermaid O additions, but that is an app example—not a substitute for your product instructions or a validated nutrient calculator.
Targets for this batch
| Parameter | Target | How to confirm |
|---|---|---|
| Finish style | Dry-to-off-dry traditional mead | Taste + stable gravity trend |
| OG | ~1.090–1.105 | Hydrometer at start |
| FG | ~0.996–1.012 (style dependent) | 2–3 stable readings |
| Temperature | 65–70°F (18–21°C) | Fermentation environment log |
| Primary duration | Active phase taper by week 2–4 | Daily activity + notes |
Ingredients and equipment
- 3.1 lb (1.4 kg) good-quality honey from one floral source; wildflower is a forgiving baseline
- Chlorine-free water: enough to reach exactly 1 US gallon (3.8 L) of must; start with about 3 US quarts (2.8 L), then top up after the honey is dissolved
- 1 packet dry wine yeast suitable for mead; use only the amount recommended for a 1-gallon batch and save or discard the remainder according to the manufacturer’s storage instructions
- Fermaid O or another complete yeast nutrient, weighed on a 0.1 g scale and divided according to the product instructions and your yeast/nutrient calculator
- Optional pectic enzyme only if fruit additions are added later (not required for base mead)
- Optional potassium metabisulfite and potassium sorbate before carbonation or backsweetening, only after stabilization decisions are confirmed
- Sanitized one 2-gallon (7.6 L) fermenter, 1-gallon (3.8 L) secondary vessel, hydrometer or hydrometer + correction workflow, and sanitizer
Use one honey type for the baseline. Mixing honey sources in this first run limits useful comparison. Keep all additions measured.
Choosing honey, yeast, water, and nutrients
Honey
Use honey you enjoy smelling and tasting. Delicate clover or acacia honey makes a lighter mead; wildflower usually gives a broader, more forgiving profile; buckwheat can dominate a one-gallon batch. Raw or gently handled honey may preserve more aroma, but “raw” is not a guarantee of quality. Avoid honey with smoke, fermentation, or storage odors. Weigh it rather than estimating by jar size: retail jars vary.
Yeast
Lalvin 71B is a common beginner choice for a round, approachable traditional mead, while EC-1118 is more aggressive and neutral. D47 can produce an elegant result but is less forgiving of warm fermentation. Yeast choice changes alcohol tolerance, nutrient demand, temperature range, and flavor; follow the current manufacturer sheet for the specific strain.
Water
If your tap water smells strongly of chlorine, use filtered or packaged drinking water. Distilled water is not automatically better because it removes minerals that can support fermentation. Do not boil all of the honey: unnecessary heating drives off aroma and makes the batch harder to cool safely.
Nutrients
Honey supplies abundant sugar but very little yeast-assimilable nitrogen. That is why a nutrient schedule matters more in mead than in many fruit ferments. Use a complete nutrient intended for fermentation, weigh it, and record the exact product. “One teaspoon” is too imprecise for a small batch, and diammonium phosphate is not interchangeable gram-for-gram with Fermaid O.
Sanitation and vessel size
Clean first, then sanitize every surface that will touch the must: fermenter, spoon, funnel, bung, measuring tools, and sample equipment. Cleaner removes soil; sanitizer works on an already clean surface. Mix sanitizer at the labeled concentration and respect its contact time.
A one-gallon jug is a convenient aging vessel but a cramped primary fermenter. Use a 2-gallon bucket or wide-mouth fermenter for the active phase so nutrient additions and degassing do not cause a foam-over. Transfer to a one-gallon jug only after vigorous fermentation has slowed. Leave reasonable headspace during primary; minimize headspace after fermentation when oxygen protection becomes more important.
Step-by-step process
Build the must
Put roughly 3 US quarts (2.8 L) of room-temperature water in the sanitized primary fermenter. Warm the sealed honey container in a water bath if the honey is too thick to pour, but do not cook it. Add 3.1 lb (1.4 kg) honey, mix until the density is uniform, then add water gradually until the total must volume reaches 1 US gallon (3.8 L). Leave extra headspace if the vessel is small.
Measure before pitching
Record must temperature, original gravity, and pH before pitching. If the gravity is unexpectedly high, first confirm the sample is fully mixed and at the instrument’s calibration temperature. Write down the actual honey weight, water source, final volume, and reading units in one place.
Rehydrate yeast
Rehydrate according to the current yeast instructions: temperature, water volume, and time matter. Temper the slurry toward the must in small steps before pitching so the yeast is not shocked by a large temperature difference. Do not leave rehydrated yeast sitting for an hour while you finish cleaning.
Pitch and set environment
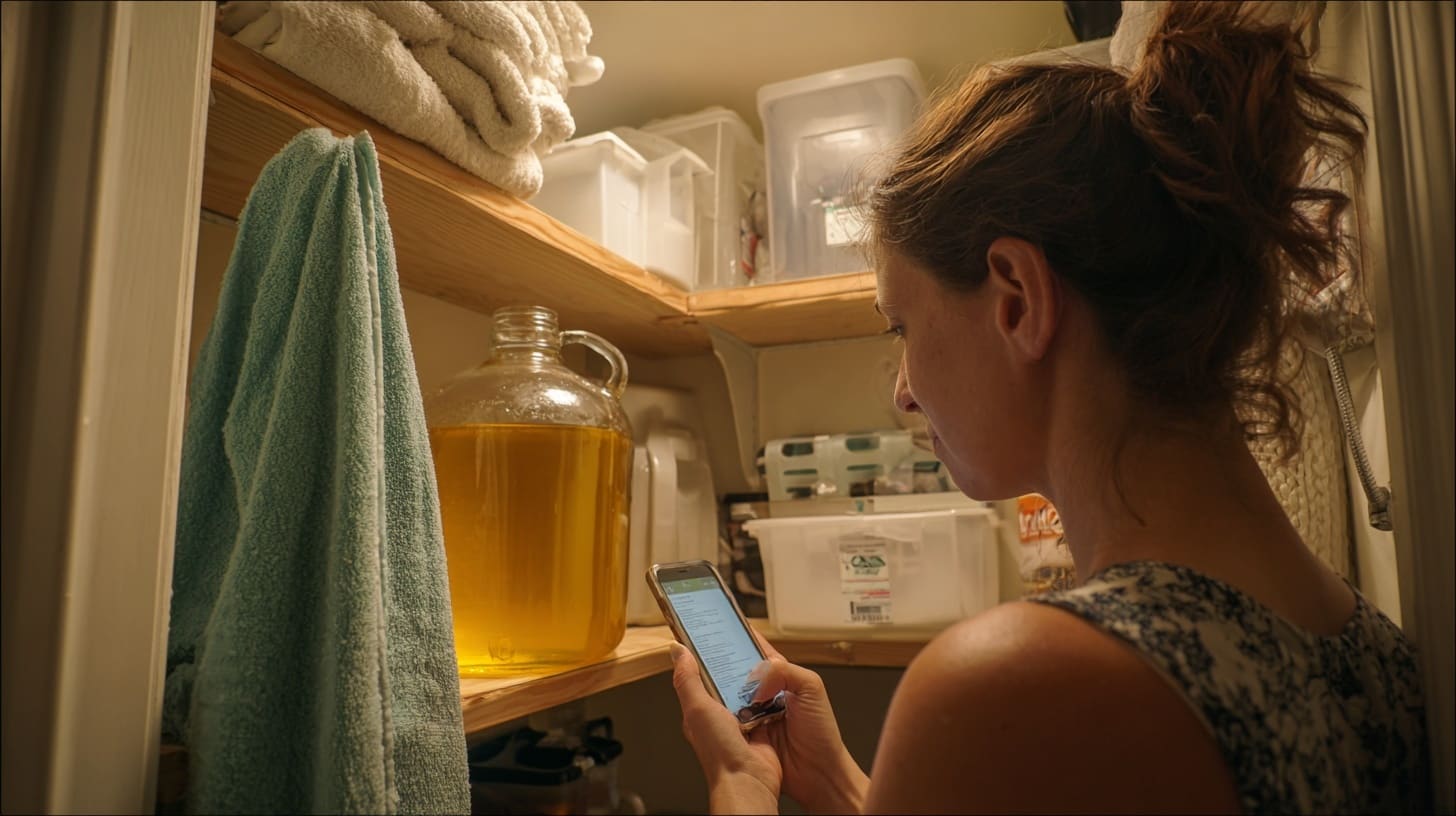
Pitch at the target range, cover the fermenter, and keep the fermentation temperature controlled. The liquid can run warmer than the room during the most active period. A water bath, cool interior closet, or temperature-controlled chamber is more useful than repeatedly moving the vessel. Excess heat can create solvent-like alcohol and rough aromatics that require long aging.
Nutrient schedule
Moment Action Reason Yeast rehydration Use the temperature, water volume, and time printed by the yeast manufacturer; do not assume one temperature fits every strain. Use label guidance and scaled portions Pitch Pitch at 65–68°F (18–20°C) after narrowing the temperature difference between the rehydrated yeast and the must. Use label guidance and scaled portions 24 hours Add 25% of the calculated nutrient total after visible fermentation begins; dissolve or slurry first to control foaming. Use label guidance and scaled portions 48 hours Add the second 25% after a temperature and aroma check. Use label guidance and scaled portions 72 hours Add the third 25% after gentle degassing. Use label guidance and scaled portions One-third sugar break Add the last 25% when gravity has fallen by one third of the total planned drop, unless your selected protocol specifies an earlier cut-off. Use label guidance and scaled portions Primary care
During the first few days, sanitize before every opening, degas gently before a nutrient addition, and expect foaming. Early oxygen exposure can support yeast growth, but stop routine aeration once roughly one third of the sugar has been consumed. From that point onward, minimize splashing and unnecessary opening. Log gravity trend, aroma changes, foam behavior, and temperature consistency.
Rack when useful
Rack only when the vigorous phase is over, a compact sediment layer has formed, and the transfer will create a cleaner conditioning environment. Place the receiving vessel lower, keep the siphon outlet beneath the liquid surface, and leave the heavy sediment behind. Gentle transfer reduces oxygen pickup; racking too often loses volume and provides no automatic quality benefit.
Month checkpoint
At about 30 days, take a gravity reading and a small sensory sample. One month is not a universal finish point: it is a meaningful checkpoint. If gravity is still moving, wait. If gravity is stable across two or three readings several days apart, decide whether the mead needs more clearing, aging, stabilization, backsweetening, or dry packaging.
Typical timeline by days
- Day 0: Sanitize, build the must, record OG/pH/temperature, rehydrate and pitch yeast
- 24 hours: Confirm fermentation has started; degas gently and add the first nutrient portion
- 48 hours: Log aroma and temperature, degas gently, add the second nutrient portion
- 72 hours: Repeat the check and add the third nutrient portion
- One-third sugar break: Add the final planned portion only if it occurs before the nutrient cut-off specified by your nutrient protocol
- Days 7–14: Stop routine aeration; monitor gravity rather than airlock activity
- Days 21–35: Take repeat readings. Rack only after the vigorous phase is over and a transfer is useful
- Month 1+: Treat one month as a checkpoint, not a guaranteed bottling date; condition until gravity and flavor are ready
How to find the one-third sugar break
The one-third sugar break is based on gravity, not on a calendar day. Subtract the expected final gravity from the original gravity, divide that drop by three, and subtract the result from the original gravity. For an OG of 1.100 and an expected FG of 1.000, the total drop is 100 gravity points. One third is about 33 points, so the break is near 1.067. If the yeast moves faster than expected, the 24-, 48-, or 72-hour schedule may overlap this threshold; follow your chosen nutrient protocol instead of adding an extra unplanned dose.
Take samples with sanitized equipment and return neither the sample nor the instrument to the fermenter. Airlock bubbles cannot identify the sugar break because leaks, temperature, and dissolved carbon dioxide all change bubble rate.
Common mistakes
Forcing speed with heat
A warmer start can create volatile notes and unstable aroma later. Stabilize temperature first.
Believing one bubble means done
Measure trend and repeatability matter more than visible activity.
Adding dry nutrient straight into foamy mead
Dissolved carbon dioxide can cause a sudden eruption. Degas gently, dissolve or slurry the portion, and leave headspace.
Confusing calendar time with stability
A recipe can say “one month,” but yeast does not read a calendar. Gravity and flavor decide the next step.
Unplanned sweetening
Do not add fermentables before your stability decision is complete.
Packaging early
Wait for repeated stable gravity before any bottling or sweetened finalization.
Racking, clearing, and aging
A cloudy mead at day 30 is not automatically faulty. Yeast, proteins, wax particles, and very fine solids can remain suspended after fermentation. Time and cool storage often do more than repeated transfers. If gravity is stable, place the jug somewhere cool and dark and watch the sediment line. Rack when you can leave a meaningful layer behind without exposing the mead to excessive air.
Young dry mead can taste sharp, hot, or oddly empty. That does not mean it needs random additives. Give it several weeks, then evaluate aroma, acidity, sweetness, body, alcohol warmth, and finish separately. Make only one measured adjustment at a time and record it so the next batch is easier to design.
Dry, still, sweet, or sparkling?
Dry and still
This is the simplest packaging path. Confirm stable gravity, allow the mead to clear, transfer carefully, and bottle without priming sugar. Even then, use sound bottles and closures and never package an actively fermenting mead.
Backsweetened and still
Adding honey restores aroma and body but also adds fermentable sugar. Stabilization is a separate, deliberate workflow; potassium metabisulfite and potassium sorbate are commonly used together under product-specific guidance. They do not stop a vigorous fermentation on command. Bench-test sweetness in a measured sample before scaling the addition to the batch.
Sparkling
Bottle conditioning requires a verified dry endpoint, a precisely calculated priming dose, and pressure-rated bottles. A sweet sparkling mead is not a beginner shortcut because residual fermentable sugar and bottle pressure must both be controlled.

What to log in Fermenstein
- Date/time of each addition and exact measured amount
- Original and current gravity
- Must and room temperature
- Nutrient additions and caps
- Rack notes and sample tasting notes
Your batch notebook
Use this in Fermenstein
Keep this as a clean reference batch before trying variation runs. Use notes from day 1, day 7, and day 30 and compare later.
Start a traditional mead batch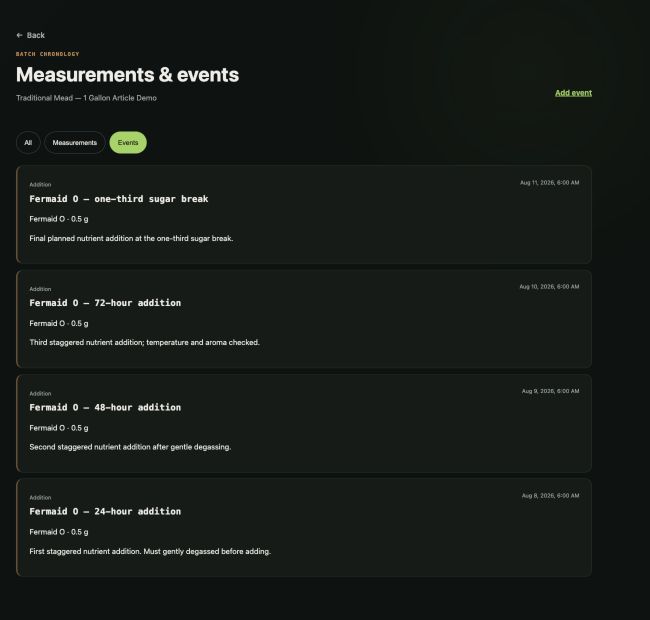
Troubleshooting this one-gallon batch
No visible activity after 24 hours
Check the actual liquid temperature, seal fit, yeast date, and gravity before repitching. A quiet airlock does not prove a failed fermentation. If gravity has not changed after another check, review rehydration and pitch conditions and use fresh yeast if necessary.
Rotten-egg or sulfur aroma
Yeast stress, poor nutrition, or an unsuitable temperature can contribute. Record when the smell appeared, confirm temperature and gravity, and correct the underlying cause early. Do not mask it with fruit or spices.
Fermentation stops sweet
Compare current gravity with the yeast’s alcohol tolerance and your original gravity. Check temperature, pH, nutrient history, and whether the reading is genuinely stable. Randomly adding more nutrient late in fermentation can make flavor worse and may not solve the cause.
The mead tastes harsh at one month
Young high-gravity mead is often not ready to judge. Protect it from oxygen, allow more clearing and conditioning time, and retaste on a schedule. Keep the tasting notes specific so “better” can be connected to time and process.
Frequently asked questions
Can I use bread yeast?
You can ferment honey with bread yeast, but its alcohol tolerance, flocculation, and flavor behavior are less predictable for this reference batch. Wine yeast makes the result easier to repeat.
Must I heat or pasteurize the honey?
No. Sound honey, clean water, healthy yeast, and good sanitation are sufficient for this method. Heating may reduce delicate honey aroma.
Can I make it with exactly one commercial jar?
Only if the jar contains the required weight. “One jar” is a convenient headline, not a unit of measurement; weigh 3.1 lb (1.4 kg).
Is the mead ready in one month?
It may be fermented by then, but fermentation, clearing, flavor readiness, and safe packaging are four different decisions. Use repeat readings and tasting notes.
How strong will it be?
An OG near 1.100 fermented to about 1.000 is roughly 13% ABV by the common homebrew estimate. Your real result depends on the measured OG and FG; calculate from your own readings.
Variations after this baseline
Brighter mead
Add a measured lemon-lighter fruit after this baseline has stabilized and is scored via tasting notes.
Richer mead
Repeat with the same honey and add a controlled sweetness strategy after you confirm stable FG behavior.
Sparkling trial
Only with calibrated pressure planning and pressure-rated packaging.
Source notes
This formulation is a reference structure for home producers and does not claim independent lab-verified outcomes. Use measured product labels and manufacturer guidance for yeast and nutrient doses.