
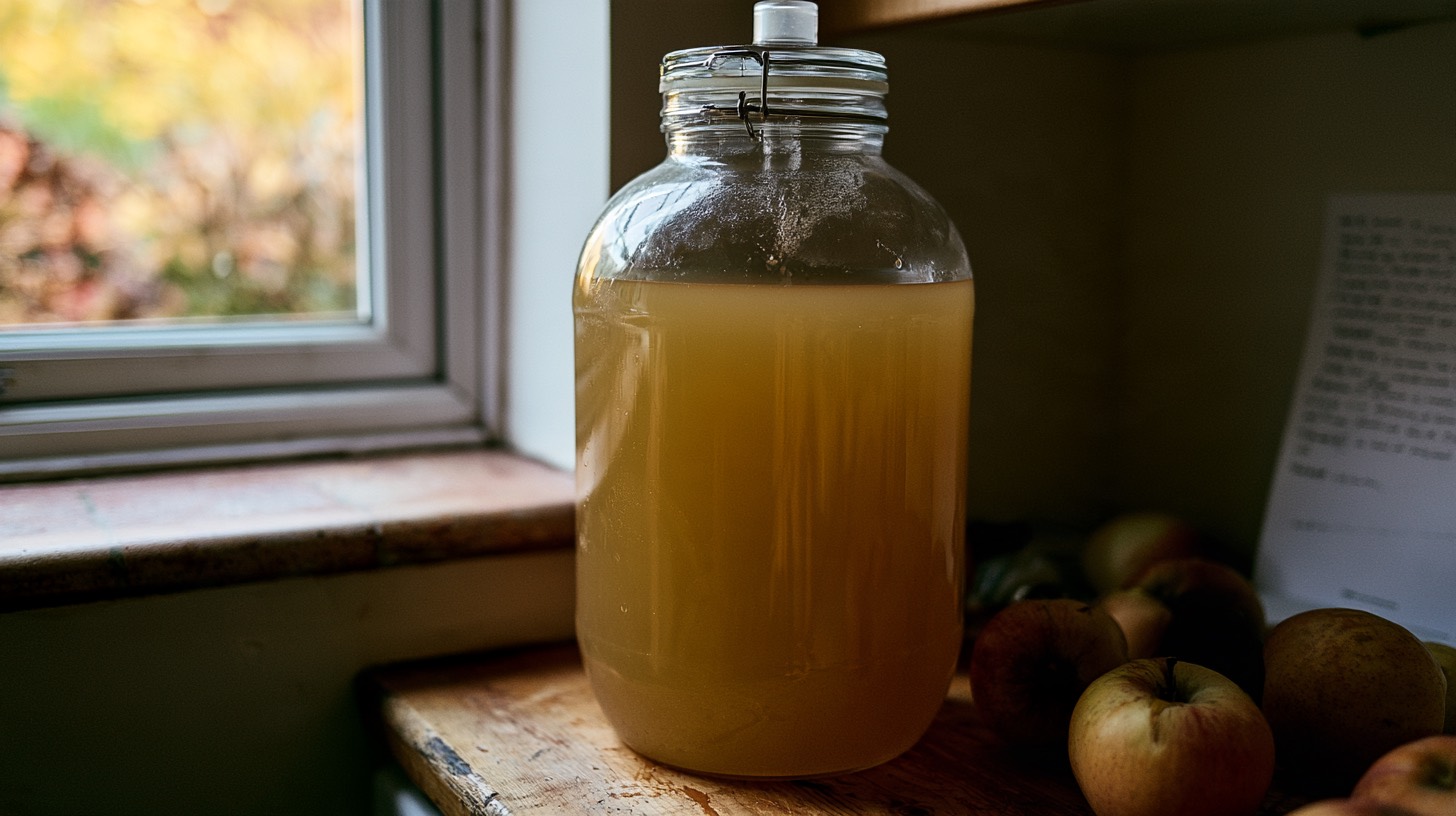
The most intimidating part of making cider for the first time is not fermentation itself, but the sheer number of conflicting instructions. Some guides recommend buying laboratory equipment, while others suggest leaving a container of juice in the kitchen and simply waiting.
We decided to start with the essentials and find out whether we could produce a clean, dry cider without complicated equipment.
What we used
- Just over 1.3 gallons (5 L) of clear apple juice without potassium sorbate or sodium benzoate
- Wine yeast suitable for cider or white wine
- A 2-gallon fermentation vessel
- An airlock and brewing sanitizer
- A siphon tube and bottles designed to withstand pressure
- A measured amount of sugar for carbonation
The composition of the juice proved especially important. Ascorbic acid is generally not a problem, but preservatives such as sorbate and benzoate may slow down or completely prevent fermentation.
Day one: preparation
We began by cleaning and sanitizing everything that would come into contact with the juice. It is tempting to assume that a quick rinse is enough, but many fermentation problems begin with a poorly sanitized vessel, lid, spoon, or siphon.
We poured the juice into the fermenter, leaving enough empty space at the top. The original gravity was approximately 1.046. If the yeast fermented nearly all the available sugar, this would produce a dry cider with roughly 6% alcohol by volume.
The yeast was added directly to the juice according to the manufacturer’s instructions. We fitted the airlock and placed the vessel in a dark location at approximately 64–68°F (18–20°C).
For the first few hours, nothing happened.
Day two: the first signs
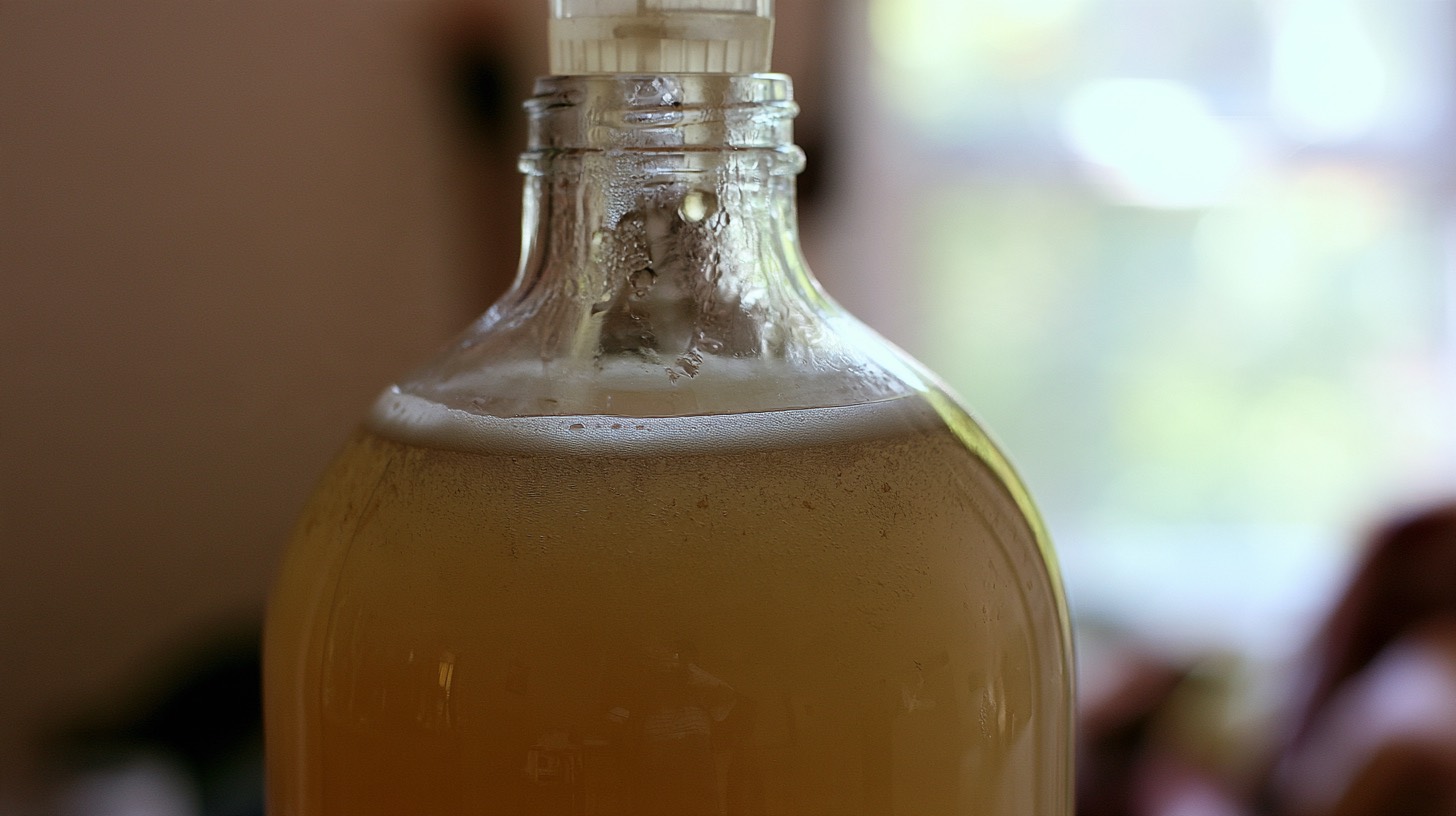
By the following morning, occasional bubbles had begun to move through the airlock. By evening, the activity was noticeably stronger, and a thin layer of foam had appeared on the surface.
The aroma near the airlock resembled fresh apples and bread dough. It was the first moment when the container stopped feeling like a vessel full of juice and began to feel like a living process.
We resisted the temptation to open the lid or stir the cider. Frequent intervention offers little benefit at this stage and increases the risk of introducing unwanted microorganisms.
Days three to six: active fermentation
Fermentation was most vigorous on the third and fourth days. The airlock was working steadily, tiny bubbles covered the walls of the vessel, and the aroma became progressively less sweet.
On the fifth day, the room temperature rose to approximately 73°F (23°C), so we moved the fermenter to a cooler location. A sudden rise in temperature can affect the cider’s aroma, and from that point onward, we tried to keep the conditions as stable as possible.
By the sixth day, visible activity had begun to slow. That did not mean the cider was ready. An airlock indicates the movement of gas, but it cannot tell us how much fermentable sugar remains.
Day fourteen: the first taste
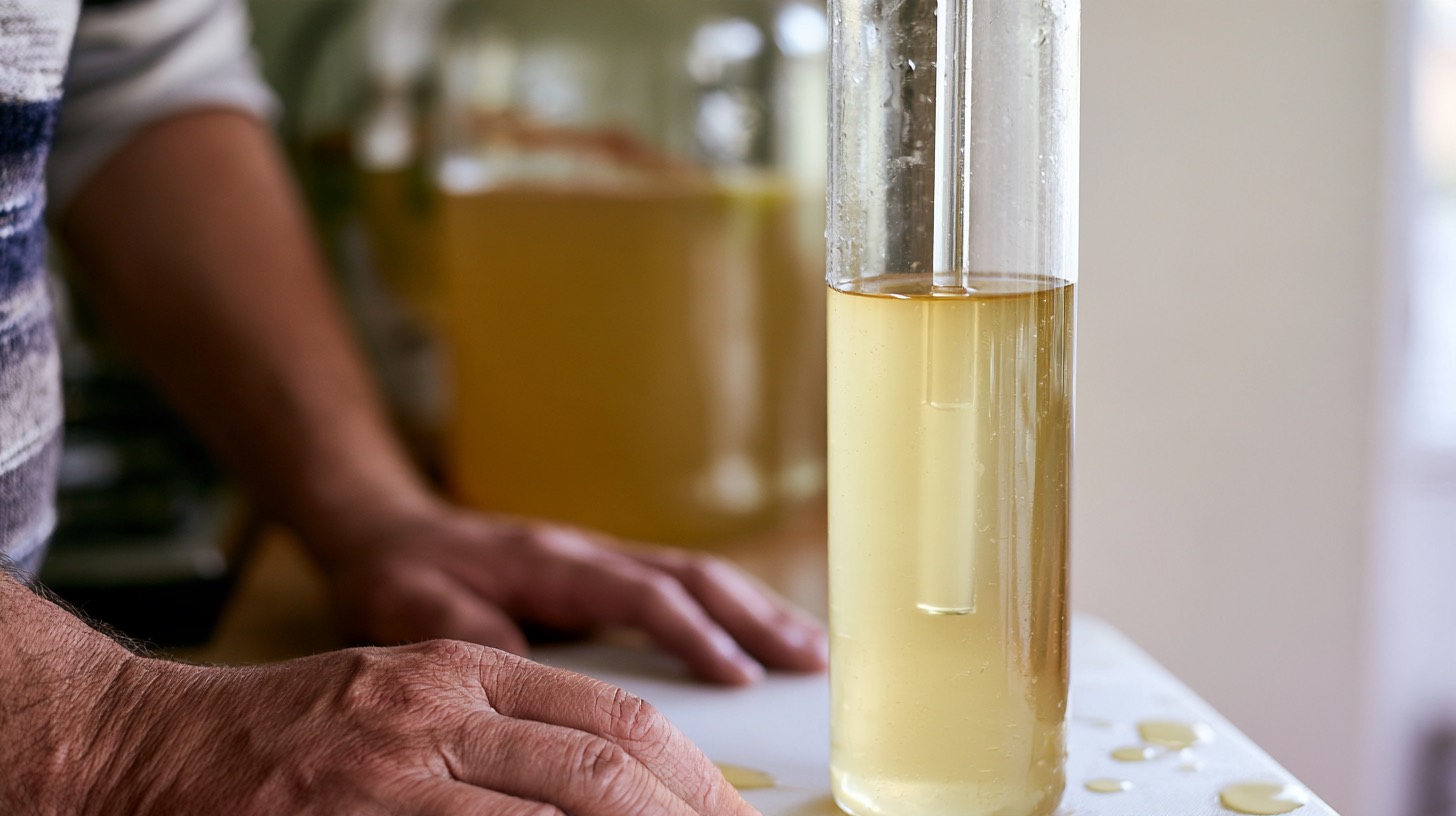
After two weeks, the gravity had fallen to approximately 1.000 and remained unchanged for several days. Only after taking a second stable reading did we consider primary fermentation complete.
The young cider was extremely dry. Almost none of the familiar sweetness of apple juice remained. Its aroma was light, with a hint of green apple, while the flavor was noticeably sharper than we had expected.
This led to our first important discovery: a fully fermented young cider rarely resembles the sweet commercial drinks found in supermarkets. It needs time to soften and come together.
Bottling
We carefully siphoned the cider away from the sediment, taking care not to disturb the layer of yeast at the bottom.
For natural carbonation, we added a precisely calculated amount of priming sugar. Guesswork is particularly dangerous at this stage. Too much sugar—or bottling before fermentation is complete—can create excessive pressure.
Most of the first batch went into plastic bottles originally intended for carbonated drinks. Their firmness made it possible to monitor the pressure as carbonation developed. Glass should only be used when the bottles are designed to hold carbonated beverages and can be sealed securely.
After bottling, we kept the cider at room temperature while carbonation developed, then transferred it to cold storage.
The result
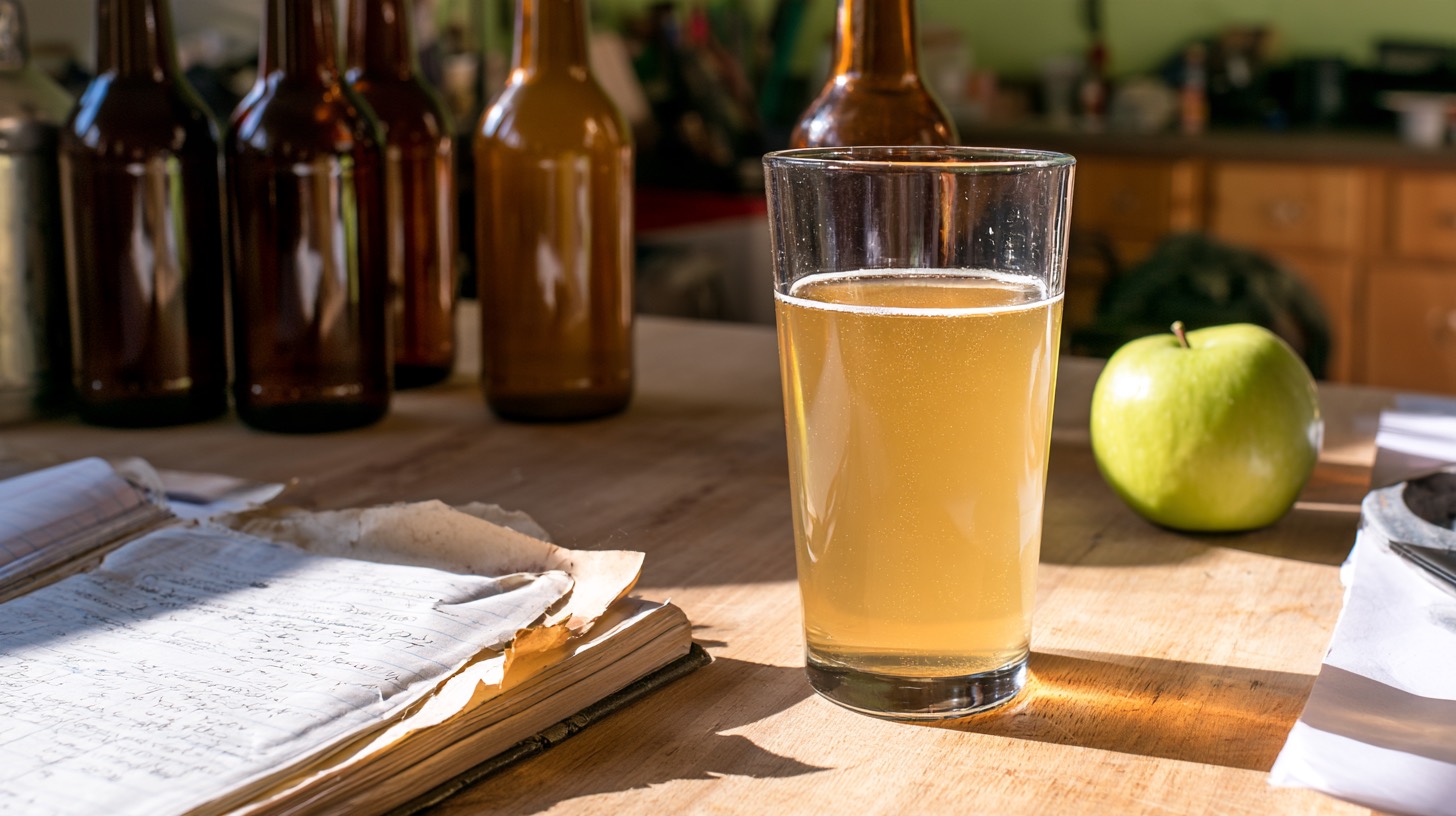
After conditioning, the carbonation was moderate and the harshness of the young cider had noticeably faded. It remained dry, light, and clean, with an apple character that felt fresh rather than sweet.
It was not a complex restaurant-style cider. It was something more useful for a first attempt: a clear and repeatable result produced with juice, yeast, stable temperatures, careful measurements, and patience.
What we will change next time
The first batch gave us several straightforward lessons:
- Record the original gravity and temperature from the beginning.
- Never judge the end of fermentation by airlock activity alone.
- Control the temperature more carefully during the first few days.
- Do not expect sweetness after the yeast has fermented all the available sugar.
- Give the finished cider more time to mature.
- Calculate priming sugar according to the actual volume and temperature rather than estimating it.
The most important result was discovering that a first cider does not require an enormous collection of equipment. Cleanliness, a few meaningful measurements, and a reliable record of the process matter much more.
The next batch will no longer be an attempt to “just make cider.” It will have a defined hypothesis, controlled parameters, and a specific goal.