Choose the juice before choosing the yeast
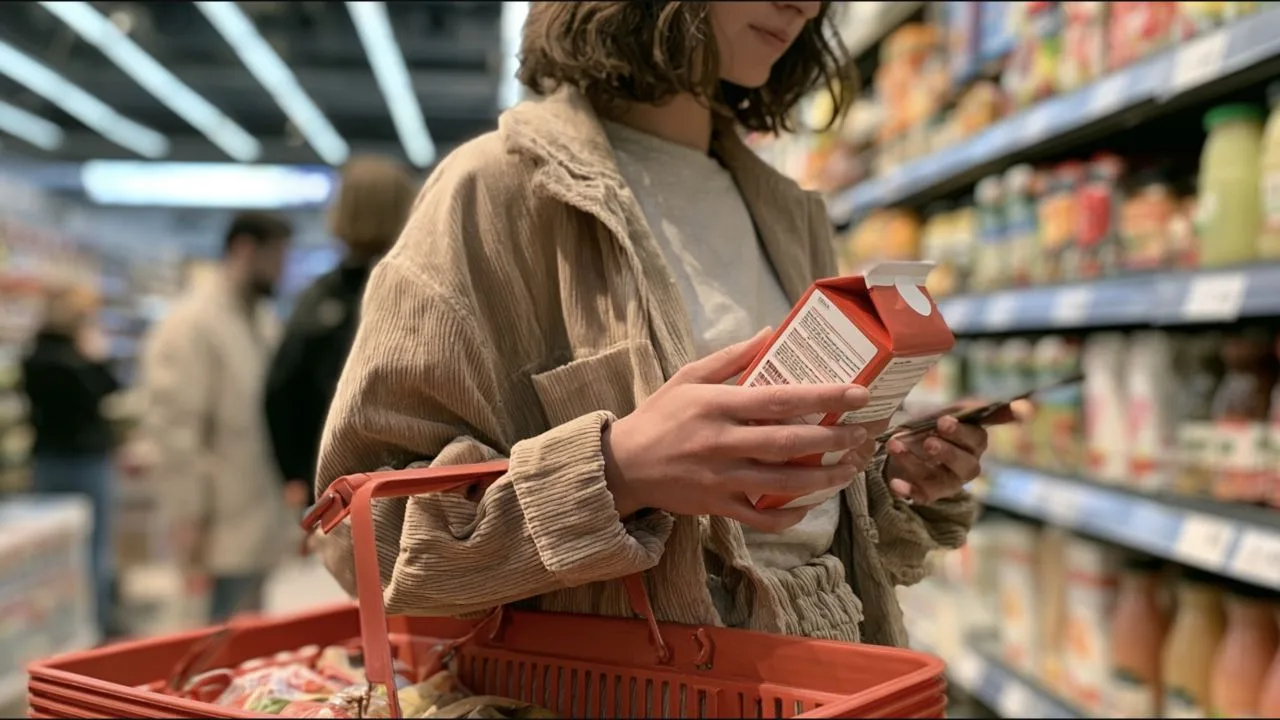
Turn the container around. “Premium” and “natural” do not tell you whether the juice is a useful fermentation base. For this beginner method, choose pasteurized 100% apple juice without sorbate or benzoate. Those preservatives can inhibit fermentation; trying to overcome them adds an unnecessary variable.
Juice from concentrate is not automatically disqualified. Clear and cloudy juice can both work: see our guide to clear versus cloudy apple juice. Keep a photograph of your real juice label in your own notes so you can buy the same product again.
Your one-gallon setup
- 1 US gallon of suitable apple juice.
- Cider or wine yeast, prepared and dosed according to its manufacturer.
- Yeast nutrient if appropriate, at its label dose for this volume.
- A sanitized food-safe fermenter with headspace; a 2-gallon vessel is convenient.
- A fitted airlock, thermometer, hydrometer and sample cylinder, sanitizer, and siphon.
- Clean bottles for a finished still cider. Do not add carbonation sugar for this version.
The starting gallon will yield less than a gallon in bottles because of sediment and sampling. Do not automatically dilute it to replace those losses.
How much sugar should you add?
None for this first version. Apple juice already supplies fermentable sugar. More sugar generally means greater potential alcohol, not a reliably sweeter finish.
Measure original gravity (OG). For an illustrative calculation, OG 1.050 and final gravity (FG) 1.000 give about 6.6% ABV using (OG − FG) × 131.25. This is an estimate, not a promised strength or an actual result from our demo. Your juice and finished gravity may differ.
1. Clean, then sanitize
Remove residue before applying sanitizer. Follow the sanitizer’s dilution, contact-time, and rinsing instructions. Include the equipment used for samples and transfers, not just the main vessel.
2. Record the starting conditions
Add the juice, leaving room for foam. Check its temperature against the yeast’s instructions. Take a sanitized sample for OG and do not return that sample to the fermenter. Record juice brand, volume in US gallons, date, gravity, and temperature in °F.
Keep planning targets separate from measurements. Writing “expected FG around 1.000” before starting does not mean that your cider has reached it.
3. Pitch the yeast and fit the airlock
Follow the yeast manufacturer’s preparation directions instead of using a universal hot-water routine. Measure any nutrient addition for the actual volume. Keep the fermenter within the yeast’s recommended temperature range, away from direct sunlight and large temperature swings.
An active ferment needs a route for gas to escape. Never replace the airlock with a sealed cap.
4. Watch the trend, not the bubbles
Foam, sediment, and a changing aroma may accompany fermentation. A quiet airlock can also mean a leaking seal, so bubbles alone cannot tell you whether the yeast is working.
Take deliberate, sanitary samples rather than using up a small batch with constant testing. Record meaningful changes in temperature and gravity. Avoid repeatedly opening the vessel just to look inside.
What should happen by day ten?
Day ten is a checkpoint—not a bottling date. The cider may still be fermenting or may be nearing dryness. Falling gravity means progress. Unchanged gravity that is still unexpectedly high can mean a stalled fermentation, not completion.
Consistent hydrometer readings over several days, at a plausible finishing gravity and under suitable fermentation conditions, are much stronger evidence than a calendar or a clear appearance. Allow additional time when the result is uncertain.
5. Settle, transfer, and keep the first batch dry
After fermentation is complete, let sediment settle and transfer gently with sanitized equipment. Avoid splashing and unnecessary oxygen exposure during storage.
Do not sweeten with sugar or apple juice immediately before sealing bottles. Fermentation can restart and build dangerous pressure. Sweet or sparkling cider needs a separate controlled process; this beginner version remains dry and still.
Make the next batch easier to improve
At tasting, note apple aroma, perceived dryness, acidity, and time since fermentation. Young cider can change as it conditions. If you repeat the recipe, change one variable where practical: a new juice, yeast, or temperature—not everything at once.
Sources and method notes
The American Homebrewers Association’s cider tutorial supports the sanitation, yeast-specific preparation, and gravity-based completion checks used here. Northern Brewer’s juice-selection guidance identifies sorbate and benzoate as ingredients to avoid. Product instructions take precedence over a generic dose.
This is a reference method, not a claimed firsthand trial. Numerical examples and the app record are illustrative.
Your first record
Create a Juice cider batch
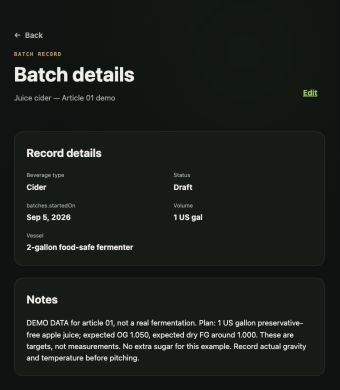
In Fermenstein, create a new batch, choose Cider, and enter 1 US gallon. Add your planned OG and FG to the notes, then enter actual readings only after measuring them.
The real app screenshot shows a temporary demo with targets clearly separated from results. Your own record should contain the juice and observations from your batch.
Create your first batch →