 GOOD PEOPLE GREAT DRINKSEnter the lab
Honey contains plenty of fermentable sugar but comparatively little yeast-assimilable nitrogen. A strong mead must can therefore ask yeast to do demanding work without giving it enough building material. TOSNA—Tailored Organic Staggered Nutrient Addition—addresses that mismatch by supplying an organic nutrient in several early portions instead of dropping the entire amount into the must at once.
What TOSNA is—and what it is not
TOSNA is a nutrient schedule, not a recipe and not a guarantee against every fermentation problem. The modern home-meadmaking version commonly uses Fermaid O, an organic yeast nutrient, and splits the calculated total into four additions. The timing is based partly on elapsed time and partly on fermentation progress.
“Tailored” is the important word. Two one-gallon meads can need different totals when their original gravities, yeast strains, nutrient assumptions, or fermentation conditions differ. Copying a gram amount from a photo or another recipe without running the calculation removes the part that makes TOSNA useful.
The complete four-part schedule
| Moment | What to do |
|---|---|
| Before pitch | Calculate the total Fermaid O dose for the actual must and divide it into four equal portions. Keep yeast-rehydration nutrient separate. |
| 24 hours | Confirm fermentation has begun, check temperature and aroma, gently release excess CO₂, make a slurry, and add portion 1. |
| 48 hours | Repeat the checks and add portion 2. Record the exact time and amount. |
| 72 hours | Add portion 3 only if the one-third sugar break has not already arrived. |
| One-third sugar break | Add portion 4 when one third of the planned gravity drop has occurred, provided this is still inside the protocol cut-off. |
The commonly cited schedule places the last portion at the one-third sugar break or no later than day 7. The break can arrive before 72 hours in a fast fermentation. When it does, do not wait for the wall clock and then add two portions later; use the rules of the calculator or protocol you selected.
Day 0: calculate, prepare, and pitch
1. Measure the real batch
Record the final must volume and original gravity after the honey and water are completely mixed. A nominal “one-gallon recipe” may not contain exactly 1 US gallon (3.8 L), and a theoretical OG may not match the hydrometer sample. The calculation should describe the must you made.
2. Select the yeast and its demand
Yeast strains are commonly grouped by low, medium, or high nitrogen demand in nutrient calculators. Do not guess from the packet color. Use the current manufacturer information or the calculator’s maintained strain list. Higher gravity and higher-demand yeast generally increase the calculated requirement.
3. Keep rehydration nutrition separate
If you use Go-Ferm or another rehydration protectant, follow its manufacturer instructions in the rehydration water. It is not one of the four Fermaid O additions. Rehydrate at the specified temperature and time, then gradually narrow the temperature difference between the yeast slurry and must before pitching.
4. Divide by weight
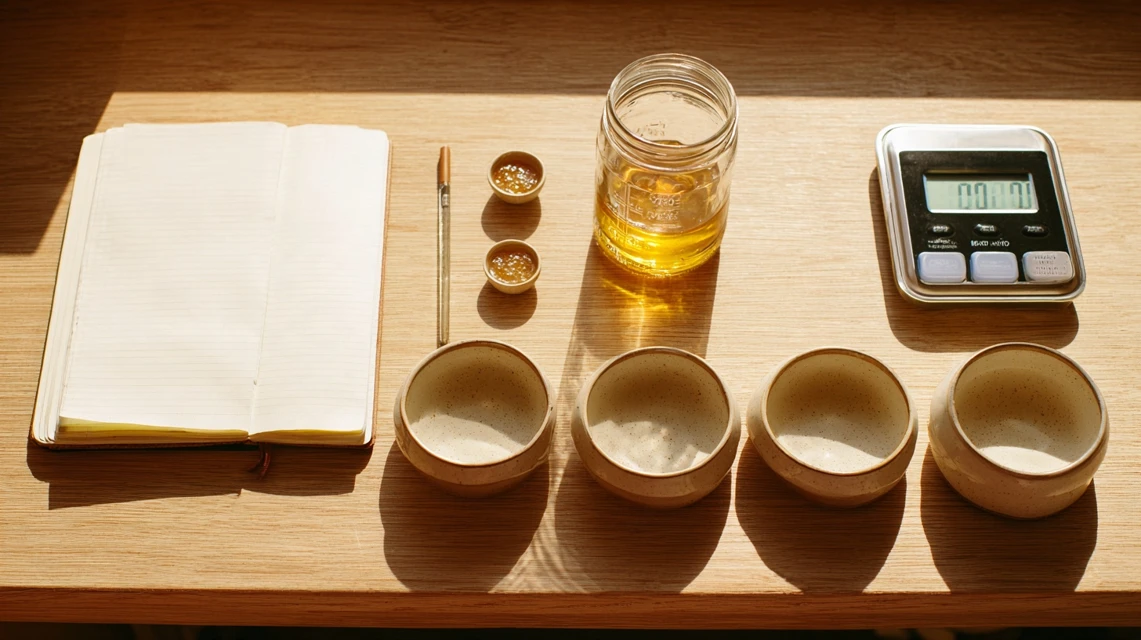
Once the total Fermaid O dose is calculated, divide it into four equal portions by weight. A scale readable to 0.1 g is the practical minimum for a small batch. Label the containers or record the weights, but keep them dry and protected until use.
Worked one-gallon example
This editorial example explains the nutrient schedule for one batch. It demonstrates the arithmetic and logging workflow; 3.2 g is not a universal recommendation for every one-gallon mead. Recalculate for your yeast, OG, product, and chosen protocol.
| Parameter | US-first value | Metric or note |
|---|---|---|
| Batch volume | 1 US gal | 3.8 L |
| Original gravity | 1.100 SG | Same scale |
| Illustrative dry endpoint | 1.000 SG | Same scale |
| One-third sugar break | 1.067 SG | Calculated, then confirmed by measurement |
| Illustrative Fermaid O total | 3.2 g | Recalculate; not a universal dose |
| Each of four portions | 0.8 g | Weigh on a 0.1 g scale |
| Fermentation range | 65–70°F | 18–21°C |
For the example, the planned gravity drop is 1.100 − 1.000 = 0.100. One third of that drop is 0.033. Subtracting it from the OG gives 1.067. The final portion is therefore tied to a measured reading near 1.067 SG, not automatically to “day 4.”
If you expect the mead to finish sweeter than 1.000, use the endpoint assumption required by your chosen calculator rather than substituting this example blindly. The purpose of the formula is to estimate when one third of the fermentable sugar has been consumed.
How to make each addition without a foam-over
- Sanitize first. Sanitize the spoon, cup, scale container, and anything that may touch the nutrient slurry or must.
- Check before opening. Record temperature, aroma, and—when the sugar break may be close—gravity.
- Release dissolved CO₂ gently. Swirl or stir carefully in a vessel with generous headspace. Do not shake a sealed fermenter.
- Make a slurry. Mix the weighed nutrient with a small amount of must or clean water in a sanitized cup.
- Add slowly. Pour the slurry in stages and pause if the foam rises.
- Record the event. Save the product, exact weight, time, temperature, gravity if measured, and any unusual aroma or foam response.
24 hours: the first portion
Look for evidence that yeast activity has started, but do not use bubbles as the only measurement. Check the liquid temperature because active fermentation can run warmer than the room. Note the aroma before adding anything; a baseline makes later changes meaningful.
Gently release CO₂, add the first slurry, and record it. Early oxygen exposure during yeast growth is different from splashing an almost-finished mead, but there is no benefit in aggressive handling. Clean, controlled mixing is enough.
48 hours: the second portion
Repeat the temperature and aroma check. The fermentation may now be vigorous, so the foam-over risk is often higher than it was at 24 hours. If the vessel is cramped, transfer risk is already telling you that the primary fermenter is too small; do not solve that problem by pouring faster.
Add the second portion after gentle degassing. If gravity is dropping unusually quickly, take a reading rather than assuming the one-third break is still far away.
72 hours—or an earlier sugar break
In a typical schedule, the third portion is added at 72 hours. But gravity controls the exception. If the one-third break has already arrived, consult the selected TOSNA calculator or protocol and complete the allowed additions then rather than continuing to feed by the calendar. Once the permitted nutrient window closes, “catching up” can be worse than leaving a missed portion out.
The one-third sugar break
The one-third break describes sugar consumption, not the number of bubbles and not one third of the planned fermentation time. Calculate the reading before you start the batch, then confirm it with the same gravity scale and a correctly handled sample.
For the example above, OG 1.100 and an assumed endpoint of 1.000 produce a break near 1.067. If today’s reading is 1.072, the break has not quite arrived. If it is 1.064, it has passed. Measurement precision, temperature correction, and sampling error matter, but the schedule does not require pretending the process is exact to the fourth decimal place.
Why Fermaid O cannot be swapped gram-for-gram
Fermaid O, Fermaid K, diammonium phosphate (DAP), and rehydration protectants have different compositions and intended uses. A dose calculated for one product is not a dose for another. TOSNA is generally associated with an organic nutrient such as Fermaid O; replacing it with DAP while keeping the same grams changes both the nitrogen contribution and the timing constraints.
Late inorganic nitrogen additions are particularly poor practice because yeast uptake changes as alcohol rises and fermentation advances. If your only nutrient is not the one required by the selected protocol, choose a calculator designed for that product rather than improvising a conversion.
The feature to use
Log each portion as its own event
For the worked example above, record four separate 0.8 g Fermaid O additions in your batch journal. Separating the events preserves the time, product, amount, and notes instead of hiding the schedule inside one paragraph.
Track a mead batch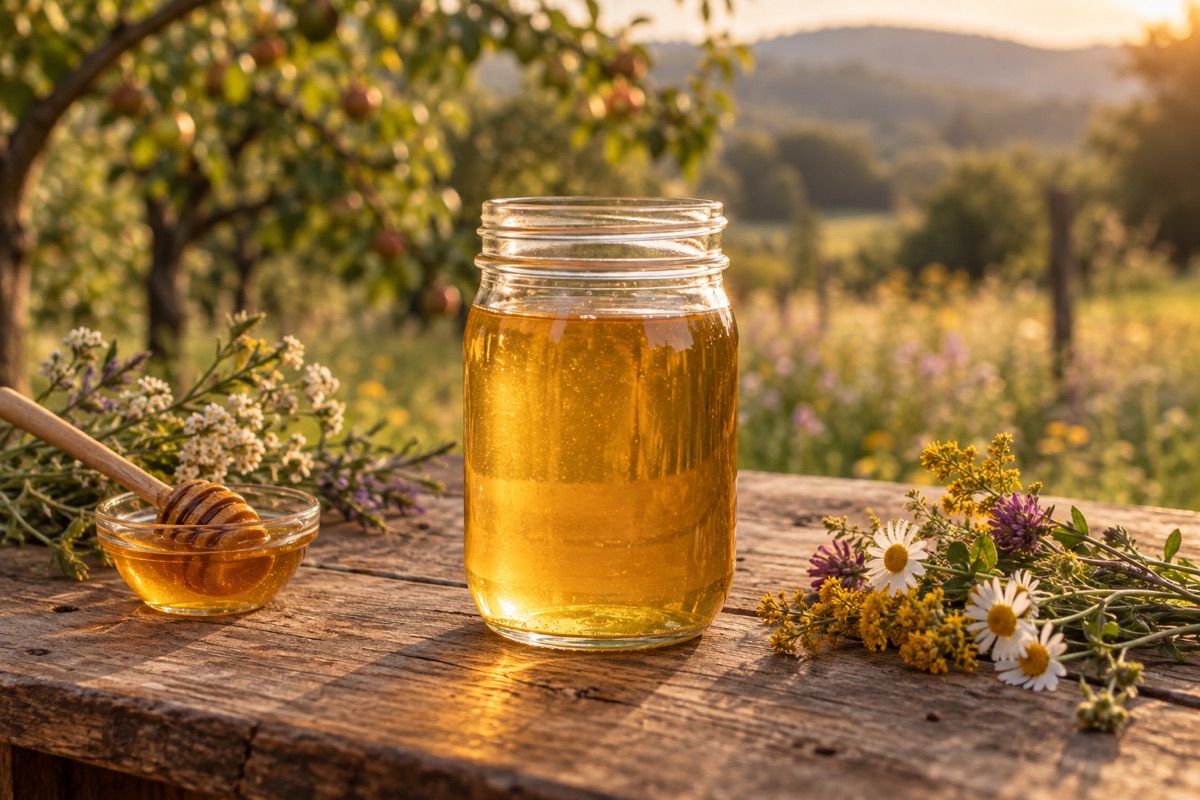 Mead · 1 US gal
Recipe at a glance
Traditional wildflower mead
- Honey and waterTo measured volume
- Wine yeastPer manufacturer
- Fermaid OCalculated for this batch
A reading companion to the complete recipe.
Open your recipe libraryWhat if the schedule does not go as planned?
The one-third break arrives before 72 hours
Treat the measured break as the decision point. Do not postpone it merely to preserve neat 24-hour spacing. Record the accelerated pace and review temperature, pitch rate, and OG after the batch.
You miss an addition
Do not automatically double the next dose. Check current gravity, elapsed time, and the protocol cut-off. If the allowed window is over, document the miss and continue monitoring rather than making a late correction from memory.
The fermentation is slow
Check actual liquid temperature, gravity trend, pH where appropriate, yeast age, rehydration, and mixing before adding more nutrient. A slow airlock is not a diagnosis. A nutrient schedule cannot repair a leaking lid or an incorrect gravity reading.
A sulfur aroma appears
Record when it appeared, check temperature and gravity, and compare the nutrient events with the plan. Yeast stress can contribute to sulfur compounds, but the aroma alone does not prove nutrient deficiency. Correct the demonstrated cause; do not add an unmeasured scoop.
The must foams violently
Stop pouring and give the foam space to fall. For the next portion, degas more patiently, use a smaller slurry addition, and confirm the vessel has enough headspace. Clean and resanitize any contacted surfaces.
After the last addition
Stop treating the batch like a daily feeding project. Keep temperature stable, minimize unnecessary opening, and follow gravity toward a stable endpoint. Nutrient additions support fermentation; they do not determine when to rack or bottle. Those decisions depend on fermentation progress, sediment, oxygen risk, clarity, and the style you want.
Continue logging measurements and sensory changes. A clean event history lets you compare batches later: Was the break early? Did temperature rise after the second portion? Did a sulfur note appear before or after the missed addition? That context is more useful than a perfect-looking calendar.
Pre-flight checklist
- Actual volume and OG recorded
- Yeast strain and nutrient demand confirmed
- Total dose calculated with a maintained calculator
- Four portions weighed—not estimated by spoon
- One-third break calculated in advance
- Primary vessel has generous headspace
- Slurry cup and sanitized tools ready
- Temperature and gravity plan written down
- Each addition logged as a separate event
Sources and further calculation
- MeadMakr BatchBuildr: TOSNA schedule and calculator assumptions
- MeadMakr Advanced SNA Calculator
- Lallemand: Best Practices—Nutrition for Alcoholic Fermentation
- Lallemand: Lalvin EC-1118 strain information
Product instructions and calculator assumptions can change. Confirm the current information for the exact yeast and nutrient in your batch before dosing.